Showing posts with label how to grow. Show all posts

20 Feb 2023

The How and Why of growing Jerusalem Artichokes

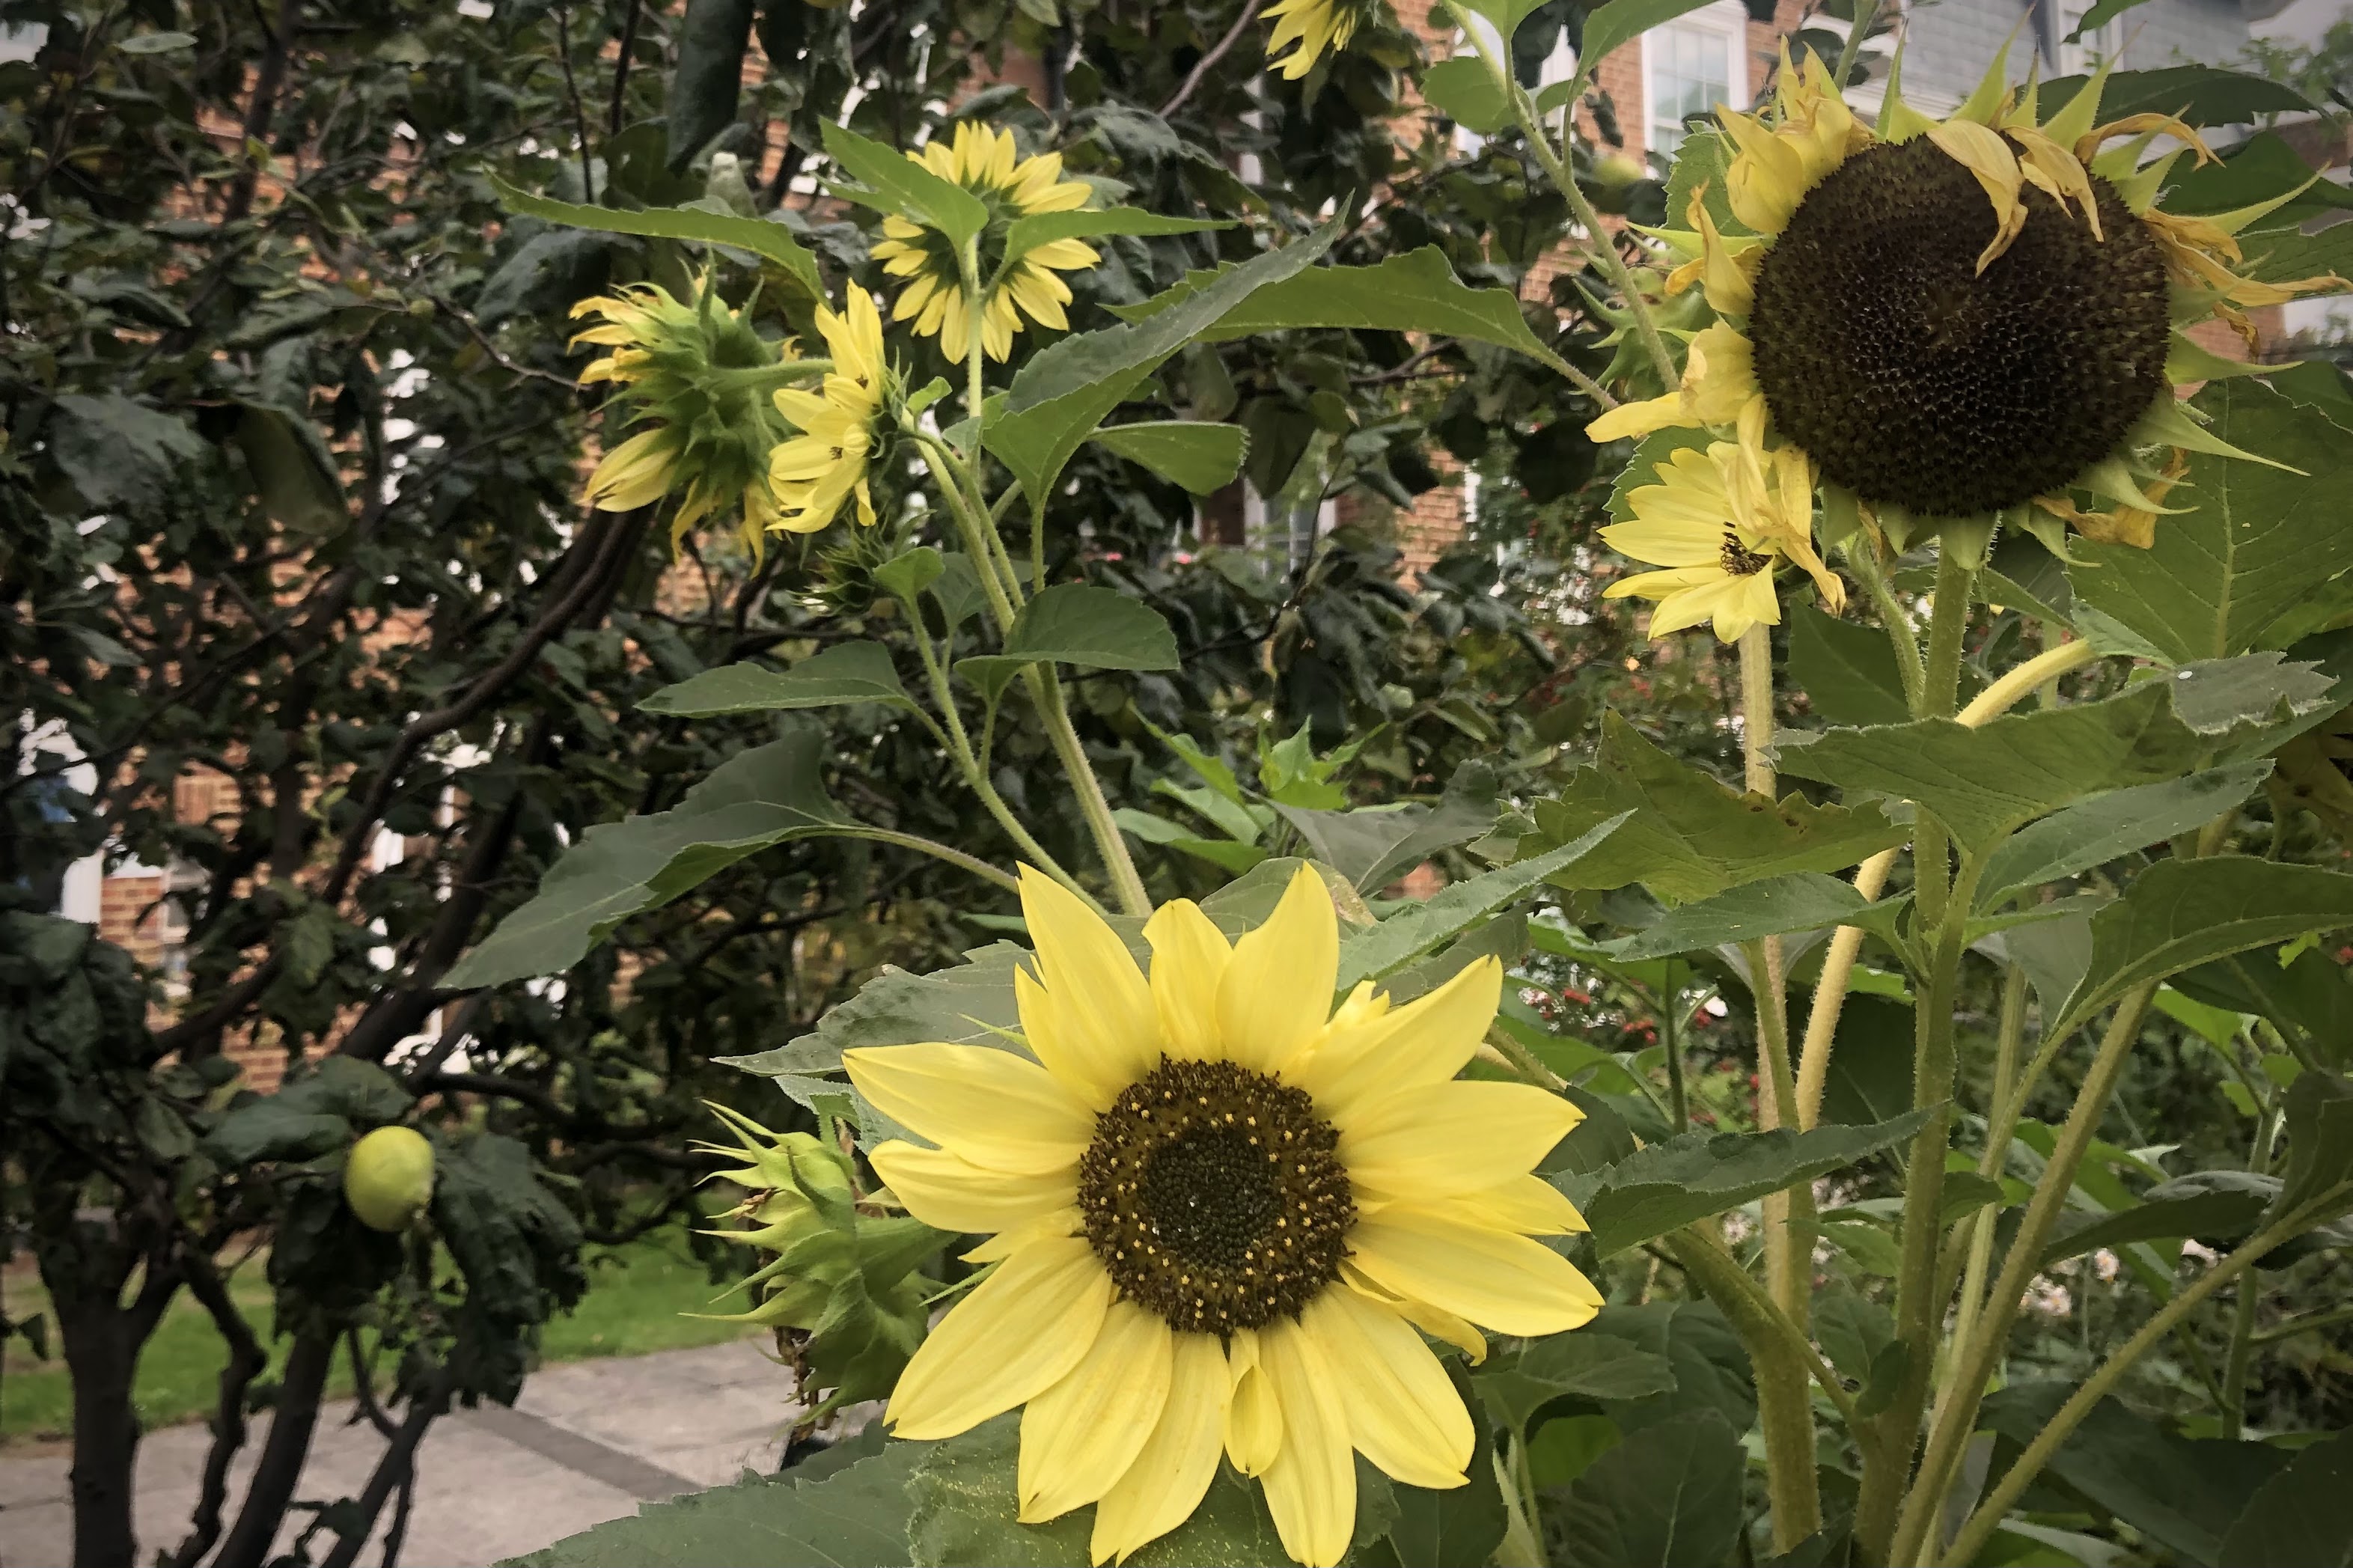
Spot the real sunflower - most of these are Sunchokes (Helianthus tuberosus)

My new discovery for the veg patch last year was Jerusalem Artichokes, also known as Sunchokes. I grew them for the sunflowers, little knowing of their many health benefits!

I'd resisted growing Jerusalem artichokes until the day they were served up as a side veg at a particularly posh restaurant meal that I was invited to attend. First tastes didn't provoke a eureka moment but that smooth blob of puréed sun-chokes piqued my curiosity. Was this a useful addition to the veg patch? And was their reputation for causing flatulence justified? 

There were two important things that started my growing experiment:  

One, the plants are in the same plant family as sunflowers;  so it's a double win for the veg garden to get cheerful pollinator attracting sunflowers and, of course, those edible tubers after the flowers have faded. Plus seedheads in the autumn for birds to munch on. Triple win! 

Secondly, I read that specialist tubers are not obligatory so I grabbed a bag of Jerusalem artichokes from the veg aisle in my local supermarket to start the experiment - and, even better, they were at sale price being at their 'best before' date.  

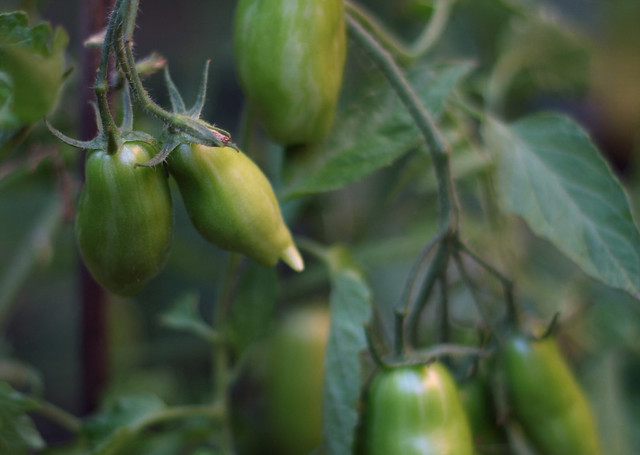
Sunchoke leaves are less serrated than regular sunflower leaves.

Growing them is easy: 

I dug a foot wide shallow trench in a sunny corner of the veg patch, forked in some compost from my Hotbin (although any compost would do), buried the tubers about 4 inches deep, spaced them 8 inches apart, then covered them over again with soil. Job done. And then watered and waited. Probably longer than was necessary but the tubers can be left in the ground until needed. Just wait until the flowers have finished. So simple. 

They didn't need earthing up like potatoes, they didn't need staking like tall sunflowers - unless your site is very windy - plus they're fairly pest resistant. And each tuber planted produced around 10 to15 more which I have roasted, pureed and mashed. Deliciously nutty, but their gassy reputation is warranted in my case. Enough said.

But not to be put off by their wind producing side effects, this year I'm bordering the veg patch with an extended row of Jerusalem Artichokes. Why? because they have some very good health benefits.

A harvest of home grown winter vegetables
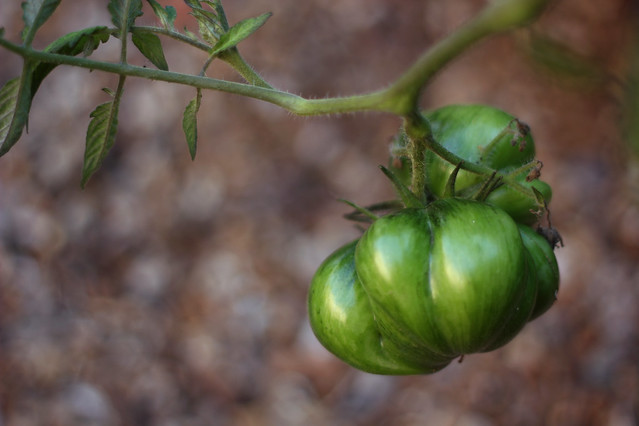
Harvesting Jerusalem artichokes from October through to January! 

So let's talk health benefits ...

These tubers are allegedly a nutritional powerhouse.  They're a good source of antioxidants which makes them gut-friendly and immune-boosting. They're also packed with fibre, iron, potassium and phosphorus. (Huh? I had to find out what phosphorus is in relation to the human body, rather than soil!  It's a mineral that supports the formation of bones and teeth, repairs cells, normalises the heartbeat, kidney function and muscle contractions. So .. pretty important stuff.)

But what they're most famous for is their high inulin content. Inulin is a carbohydrate that acts as a prebiotic, feeding your good gut bacteria to keep your innards healthy.  It's hard to digest so when it reaches the intestines, it feeds the gut bacteria which then produce methane gas ... yes, the source of their nickname, fartichokes. 

That aside, Jerusalem artichokes are touted as a good substitute for potatoes being low carb, low sugar and full of fibre. 

They're still a bit of a novelty for me and I now know to eat them as a treat rather than every day and certainly not in any great quantity as I could feel (and hear!) the effect they had on my intestines for a couple of days. 

There is a way to lessen the gassiness ...

I've read that there are three ways to reduce the side effects of Jerusalem artichokes.  The first is to gradually increase the amount eaten in order to get your body to adapt; the second is to boil the sliced tubers in lemon juice which turns the inulin into fructose thereby making them sweeter but less gassy. The third is to slice and pickle them, retaining the nutty flavour and crunch.  Option 3 sounds interesting!

So, a potato substitute with health benefits and cheerful flowers ... will you give them a go this year?

A few of the ultra-delicious recipes I've tried!

If you're new to cooking Jerusalem artichokes, can I steer you in the direction of Riverford Organic Farmers website?  Here you'll find not only a few of the recipes that inspired me but also some good advice on preparing the tubers if you watch the video in the first recipe listed below.

Roasted Jerusalem artichokes with mushrooms, rosemary and garlic - still my favourite

Jerusalem artichoke and bacon gratin - cheese, bacon, cream and sunchokes, delicious.

Jerusalem artichoke and leek soup - the perfect soup using available veg from the winter garden. 

Happy munching! 

And here's Charles Dowding showing how he grows his Jerusalem Artichokes:

https://youtu.be/jIM2mxswJZ8


14 Apr 2022

Ginger Nuts! How to grow fresh ginger (part 1)


I've been trying not to get too experimental with what I'm growing this year but ginger is a staple in my kitchen (so useful for warding off winter colds).  So, for the past few weeks, I've been nurturing a root into life in the dark warmth of my kitchen cupboards.

I last tried growing ginger seven years ago, and failed. But, inspired while watching Marcus Wareing's Tales from a Kitchen Garden on the BBC, my thoughts turned to the summer warmth in my sun trap of a salad garden and I decided to try again. And on my next shopping expedition, I came home with a sturdy chunk of promising looking ginger in my basket.

I've followed the method shown in episode 8 of the show where Marcus chats to a grower about spices. And that included ginger.  Compulsive viewing for a food grower - I now know where I went wrong before! 

As the saying goes ... if at first you don't succeed, try and try again. Especially as I've now seen a tried and tested method that practically guarantees success. (I'm nothing if not optimistic.)

So this is what I've done (so far) ...

  • First, sprout the ginger.  Soak the ginger chunks in water for a couple of days; that helps to revitalise it.
  • Next, seal the chunks in a clear plastic tub and store it somewhere warm.  I found the gentle warmth of the cupboard near to my oven perfect.
  • Finally, try not to forget about it! In a couple of weeks, buds on the ginger had started to form a tuber with visible roots (see main pic).  The whole chunk of ginger was then potted up into good peat free compost, leaving the growing shoot above the soil level and the new roots just buried. Keep the plant warm and the soil moist (never wet) and in six months or so, I should be harvesting my own fresh ginger. 
  • I used a 3 litre/7.5" pot because it's what I had to hand but a 10 litre/11" pot would be even better. I'll pot mine on once it's established. 
  • Ginger (Zingiber officinale) is a subtropical plant, thriving in humid conditions and nutrient rich soil. It spreads along the ground as it grows (hence the need for a big pot or greenhouse bed) and will need feeding weekly. 

Sprouted ginger root planted into pot.
Snuggled into it's new home ... 

Part Two of this post will be if/when this experiment progresses ... and my next experiment will be the lemon grass stalk previously destined for a pot of Thai breakfast soup but now sitting in a jar of water on my windowsill.

27 Aug 2016

One tomato, two tomat... oh.

Tomato Vintage Wine
Heritage tomato 'Vintage Wine' - yet to mature


Yes indeed, here we are again as summer fades and I have yet to reap a decent harvest of tomatoes for the second year running.  As I roll my eyes heavenwards and raise my eyebrows, I have to ask "Why?" - as in, why is this happening?, why am I bothering? and just why! oh why! My frustration is extreme.

Last year's plants produced heaps of fruit but blight struck before any of it could ripen.  This year I bought fresh seed with thrilling names like 'Banana Legs', 'Vintage Wine' and 'Deep Orange Strawberry', carefully chosen to produce a tempting cornucopia of tomatoes of different hues, sizes and textures for summer cooking and eating. Oh boy, was I looking forward to this!

Sowing, germination, potting on - all went as planned. The seedlings grew at first on my windowsills then outside on my balcony where light breezes ruffled their leaves and strengthened the stems.  I moved the sturdiest into large pots of peat free multi purpose when the weather warmed (I wanted to be able to move the pots around if needed) and left these outside where they would get water and some sun. I rashly judged that I had too many tomato plants and gave some away.

And then the rains came.

Slugs languished in a sensuously drunken fashion at the very pinnacle of the plants, or nestled into the leaves further down.  The sight of this abandoned mollusc behaviour became the norm, even in daylight hours.  I persevered and picked them off, time after time.

Despite the relentless slug sorties, the plants grew and thrived. But, on some, flowers just didn't form. I boosted the plants with the gardener's friend, Tomorite. A few tiny fruits formed but it was too little, too late. I've had two ripe tomatoes from plants given to me by my sister and I live in hope for the few home-grown tomatoes still to ripen: one beefsteak Vintage Wine lately formed and what will amount to a small bowl of Banana Legs.

Hands of banana legs
Banana Legs - these should be as yellow as a .... yep, banana.

Naturally, further research was needed; I've been reading for weeks about other bloggers generous gatherings of luscious tomatoes - or perhaps that was my envious imagination.  Anyhow, the RHS advises that tomatoes, although relatively easy to grow, are prone to physiological disorders ie problems encountered in controlling the plants sensitivity to temperature, nutrients and light.  So... not easy at all then.  Apparently even greenhouse grown fruit are susceptible to problems.  I recall a BBC programme where Alys Fowler built a tiny greenhouse out of reclaimed windows for her tomato plants in a bid to keep blight at bay. Did it work? No. Even experienced growers suffer. And yet, a few years ago, I had plenty of tomatoes from plants literally plonked into the soil on my balcony - they were still chucking out fruit in December!

So what's the answer? Anna Pavord in her book 'Growing Food' writes that many cultivars, particularly cordons, are best grown under glass although can be grown outside if circumstances are right. All my choices this year are a Heritage cordon variety and, without a greenhouse, would have been best grown against a sunny wall for warmth and shelter. The book also advises that tomatoes grown outside do best in soil that has been well-manured and in a different spot to previous year's growth to avoid build up of soil diseases.  Pot grown tomatoes are best fed and watered twice a day in a hot summer. Another fail on my part - I was sometimes too busy elsewhere to check.

I gleaned another clue from Joy Larkcom's book 'Grow your own vegetables': she says most heritage or heirloom tomatoes are late maturing. (There's hope yet.) Cordon types need to have the tops pinched off (stopped) in late summer to let any fruit mature and ripen.

So to summarise, these are lessons to take forward to next year:

  • Choose seeds wisely. Very important to find out whether seeds are suitable for outdoor growing. 
  • Choose early maturing cultivars to beat blight and poor summer weather.
  • If growing outdoors, dig a 12" deep trench and line with comfrey leaves or dig in well rotted manure a couple of weeks before planting out. Tomatoes like a moist free draining soil.
  • Find a nice heat retaining wall to grow against. (I'm wondering if a black backcloth might also work?). Hedges are not suitable places to plant as the soil will be too dry. 
  • If I must grow beefsteak tomatoes (and I feel I might), treat them like chillies with plenty of warmth and light.
  • Try not to plant tomatoes in the same spot; they need a different plot every four years to minimise build up of soil problems. 

It certainly isn't the piece of cake we're led to believe - Joy Larkcom devotes eight pages of her very comprehensive book to the subject of growing tomatoes.

I feel heartened having written this post as there may just be enough time for my tomatoes to ripen - with the right wall to lean on. Next year,  I'll plant early and try them up at the allotments (although I heard there's blight up there this year).  And maybe I'll curb my tendency to opt for beautifully named Heritage varieties, a bit like choosing which horse to back in the Grand National, although 'Outdoor Girl' and 'First in Field' have done well for me in the past.

It would be really good to hear which varieties have done well for other growers this summer with recommendations for a good eating and good cooking tomato. I'm tempted by 'Ferline' - has anyone grown it?

Related Posts Plugin for WordPress, Blogger...